How to create a JavaScript Stopwatch
In this guide, we will teach you how to create a JavaScript stopwatch. We will create a vanilla version of this stopwatch. The term vanilla means in its most basic form, so no extra additions like libraries and frameworks will be used.
Setting up our workspace
To get started with our stopwatch, we will set up a directory to work in. Create a directory on your computer called vanilla_stopwatch. Inside this directory, create a file called index.html and add the following HTML
Creating our basic HTML file
<!DOCTYPE html>
<html lang="en">
<head>
    <meta charset="UTF-8">
    <meta http-equiv="X-UA-Compatible" content="IE=edge">
    <meta name="viewport" content="width=device-width, initial-scale=1.0">
    <title>OBZ Stopwatch</title>
</head>
<body>
    <h1>OnlineBlogZone Stopwatch</h1>
</body>
</html>
What this file does is set up our boilerplate HTML. It includes the bare minimums we need to start our HTML file.
After saving this file we drag it from our file explorer to our browser so it will open the index.html file inside of it. We are met with the following
It’s still fairly bland but we’ll deal with that later. First, we will set up our HTML to include the buttons we will be using for our stopwatch. Let’s get right into that
Change your HTML to the following
<!DOCTYPE html>
<html lang="en">
<head>
    <meta charset="UTF-8">
    <meta http-equiv="X-UA-Compatible" content="IE=edge">
    <meta name="viewport" content="width=device-width, initial-scale=1.0">
    <title>OBZ Stopwatch</title>
</head>
<body>
    <div class="container">
        <h1>OnlineBlogZone Stopwatch</h1>
        <p><span id="seconds">00</span>:<span id="tenth-seconds">00</span></p>
        <div class="buttons">
            <button id="start-stopwatch">Start</button>
            <button id="stop-stopwatch">Stop</button>
            <button id="reset-stopwatch">Reset</button>
        </div>
    </div>
</body>
</html>
We’ve added a container div element. A div element is just a plain simple division or section which we can use to style on and to give structure to our HTML.
Within this div, we’ve added a paragraph with two span elements that wrap around our two timer intervals. One is the first two digits, seconds and the other is the last two digits, tenths of a second.
Our last change is the addition of three button elements. These buttons will gain the interactivity to our stopwatch.
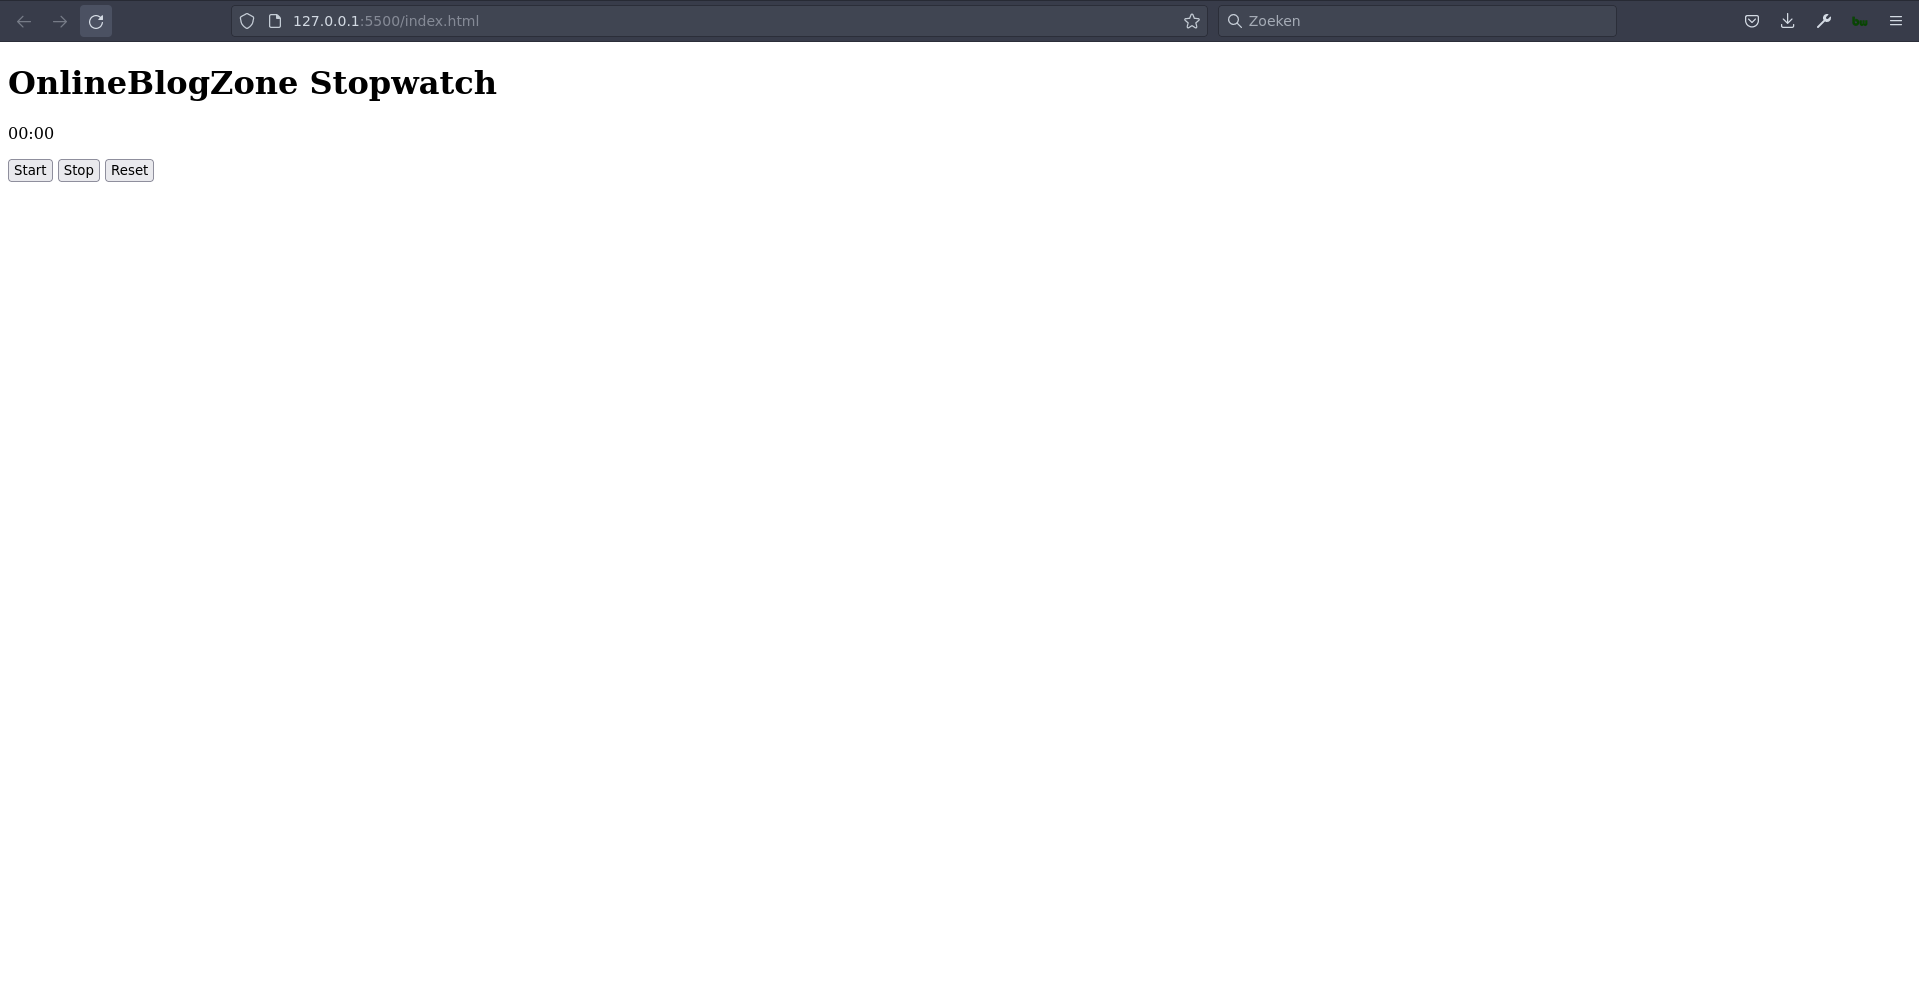
Save this file again and reload your browser page to see the following page:
Creating our JavaScript functionality
Right now, our page doesn’t look too pretty, but we’ll save that for later. Let’s move into the functionality right now. If we want to create a JavaScript stopwatch, we need something very important, JavaScript. So let’s add that!
Update your index.html HTML file to look like the following
<!DOCTYPE html>
<html lang="en">
<head>
    <meta charset="UTF-8">
    <meta http-equiv="X-UA-Compatible" content="IE=edge">
    <meta name="viewport" content="width=device-width, initial-scale=1.0">
    <title>OBZ Stopwatch</title>
</head>
<body>
    <div class="container">
        <h1>OnlineBlogZone Stopwatch</h1>
        <p><span id="seconds">00</span>:<span id="tenth-seconds">00</span></p>
        <div class="buttons">
            <button id="start-stopwatch">Start</button>
            <button id="stop-stopwatch">Stop</button>
            <button id="reset-stopwatch">Reset</button>
        </div>
    </div>
    <script src="js/main.js"></script>
</body>
</html>
You might notice one extra line. We’ve added a js/main.js file. Inside this file, we will place our JavaScript logic, which will make our HTML buttons do something!
Create the directory js with a file called main.js inside. Within this file, add the following:
window.onload = function() {
    let seconds = 00;
    let tenths = 00;
    let interval = null;
    const tenthsSpan = document.getElementById('tenth-seconds');
    const secondsSpan = document.getElementById('seconds');
    const startStopwatchButton = document.getElementById('start-stopwatch');
    const stopStopwatchButton = document.getElementById('stop-stopwatch');
    const resetStopwatchButton = document.getElementById('reset-stopwatch');

    startStopwatchButton.onclick = function() {
        clearInterval(interval);
        interval = setInterval(initTimer, 10);
    }

    stopStopwatchButton.onclick = function() {
        clearInterval(interval);
    }

    resetStopwatchButton.onclick = function() {
        tenths = '00';
        seconds = '00';
        tenthsSpan.innerHTML = tenths;
        secondsSpan.innerHTML = seconds;
        clearInterval(interval);
    }

    function initTimer () {
        tenths++;
        if (tenths <= 9) { tenthsSpan.innerHTML = '0' + tenths; } if (tenths > 9){
            tenthsSpan.innerHTML = tenths;
        }
        if (tenths > 99) {
        tenths = 0;
        seconds++;
        secondsSpan.innerHTML = '0' + seconds;
        tenthsSpan.innerHTML = '0' + '0';
        }
        if (seconds > 9){
            secondsSpan.innerHTML = seconds;
        }
    }
};
Inside this file, we start with a window.onload function, this function gets executed when the entire page loads, **including** its content (CSS, scripts, images, etc.).
We’ve told our code to execute whenever the window loads.
JavaScript types
First, define some variables. Make note of the let and const keywords. const means a constant variable which is a variable that you initially set and don’t modify anymore. So the actual value can’t be mutated. let on the other hand defines a mutable variable that can later on, in the same scope, be changed or reassigned.
Note: That while var is still a valid type for a variable, its usage isn’t recommended anymore. Without going into the depths of why this is, just know that not using var makes your code less error-prone regarding scope changes.
After declaring our variables we add three onclick events. The functions for these are triggered upon clicking on the relevant to handle the start, stop, reset button clicks. Inside of the onclick function of the startStopwatchButton element we call a function called setInterval inside this function we give another function as a callback, namely initTimer. Since JavaScript is an asynchronous language we use something called callbacks to execute different functionality based on where in the main function flow we are located. Basically, a function that gets executed in the future which we can’t control regarding runtime.
Our interval will execute every 10 milliseconds and update our stopwatch during that period.
Inside the initTimer function, we handle the stopwatch timer logic. We increment both the tenth digits and the second’s digits to get a smooth transition.
If you’ve copied the code we’ve shown you should now have working buttons and something that looks like this

Adding some styling to our stopwatch
Our stopwatch is working, but it’s still looking a bit bland. Let’s add some styling to it!
Inside index.html add the following line so your file looks like the following: <link rel="stylesheet" href="css/style.css">
<!DOCTYPE html>
<html lang="en">
<head>
    <meta charset="UTF-8">
    <meta http-equiv="X-UA-Compatible" content="IE=edge">
    <meta name="viewport" content="width=device-width, initial-scale=1.0">
    <title>OBZ Stopwatch</title>
    <link rel="stylesheet" href="css/style.css">
</head>
<body>
    <div class="container">
        <h1>OnlineBlogZone Stopwatch</h1>
        <p><span id="seconds">00</span>:<span id="tenth-seconds">00</span></p>
        <div class="buttons">
            <button id="start-stopwatch">Start</button>
            <button id="stop-stopwatch">Stop</button>
            <button id="reset-stopwatch">Reset</button>
        </div>
    </div>
    <script src="js/main.js"></script>
</body>
</html>
This line creates a reference to our stylesheet in which we will be declaring our styling.
Create the directory css and inside of it create the file styles.css with the following content:
html {
    font-family: 'Lato', sans-serif;
    text-transform: uppercase;
}

body {
    background-color: rgba(22, 88, 36, 0.4);
}

h1 {
    font-size: 64px;
}

h1, p, span {
    text-shadow: 2px 2px 2px rgba(0, 0, 0, 0.5);
}

.container {
    width: 800px;
    margin: 30px auto;
    color: rgb(22, 88, 36);
    text-align: center;
}

.timer-string {
    font-size: 34px;
    letter-spacing: 10px;
}

.buttons {
    display: flex;
    justify-content: space-evenly;
}

button {
    background: transparent;
    border: none;
    padding: 10px;
    cursor: pointer;
    font-weight: bold;
    width: 80px;
    height: 80px;
    box-shadow: 5px 5px 5px rgba(0, 0, 0, 0.5);
}

#start-stopwatch {
    color: #165824;
    border: 1px solid #165824;
    border-radius: 50%;
}

#start-stopwatch:hover {
    color: white;
    background: #165824;
    border: 1px solid white;
}

#stop-stopwatch {
    color: red;
    border: 1px solid red;
}

#stop-stopwatch:hover {
    color: white;
    background: red;
    border: 1px solid white;
}

#reset-stopwatch {
    color: black;
    border: 1px solid black;
}

#reset-stopwatch:hover {
    color: white;
    background: black;
    border: 1px solid white;
}
The actual workings of the CSS file go beyond the scope of this project and will therefore be skipped. Keep a lookout for our CSS tutorials in the future!
With this CSS file in place, the site should look like

We’ve shown you how to create a JavaScript stopwatch and have successfully created it! We hope you have learned the basics of HTML and how we can use JavaScript to manipulate our HTML pages.