How to install Magento 2 on Ubuntu 18.04 / Windows 10
Magento 2 can be quite a hassle to correctly install. For this reason we have created a guide which will help you in correctly installing Magento 2 on Ubuntu 18.04 / Window 10.
What is Magento?
We have broken down this guide into two main sections, specifically,
Installing Magento 2 on Ubuntu and Installing Magento 2 on Windows.
Installing Magento 2 on Ubuntu
Prerequisites
- A web server
- MySQL
- PHP 7.2
- Composer
Let us do that right now.
Step 1: Install a web server
In order to run Magento 2, it needs to be ran on something called a web server. A web server is a piece of software which is required to let people access your server. It consists of a set of rules which points users to the right web page. For this guide we will be using Apache.
If your Ubuntu has a Graphical User Interface (GUI) then you can either click on the terminal icon ![]() or press the following key combination: Ctrl+Alt+T.
or press the following key combination: Ctrl+Alt+T.
To install Apache run the following command inside your terminal:
$ sudo apt-get install apache2
Once installed, Apache needs to be enabled.
$ sudo service apache2 start
$ sudo service apache2 restart
To check if Apache has been succesfully installed, enter the following into your web browser: http://localhost.
The following screen should be visible when Apache has been correctly installed.
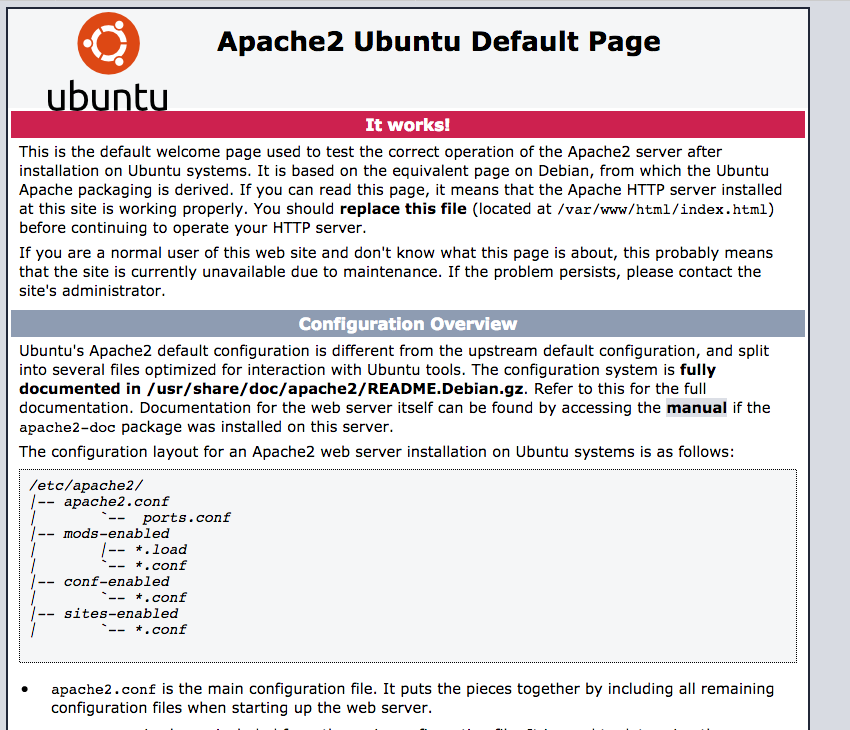
Note: Apache automatically stores files in the directory: /var/www/html
Step 2: Install MySQL
Now that the web server has been installed, we need to install the database as well. The database will be used to store all the information necessary to run the Magento shop. Some examples of data stored in the database are:
- Customers
- Products
- Orders
We will use a MySQL database server. To install the MySQL database server, run the following command:
$ sudo apt-get install mysql-client mysql-server
$ sudo mysql_secure_installation
You should get a list of questions. Answer them as you please. For this guide we will go with the following:
- Would you like to setup VALIDATE PASSWORD plugin? (enter for none): Enter
- New password: Enter password
- Re-enter new password: Repeat password
- Remove anonymous users? [Y/n]: Y
- Disallow root login remotely? [Y/n]: Y
- Remove test database and access to it? [Y/n]: Y
- Reload privilege tables now? [Y/n]: Y
Step 3: Install PHP 7.2
PHP is necessary in order to run the server-sided code. To install PHP run the following command:
$ sudo apt install php php-curl php-soap php-mysql php-cli php-gd libapache2-mod-php7.2
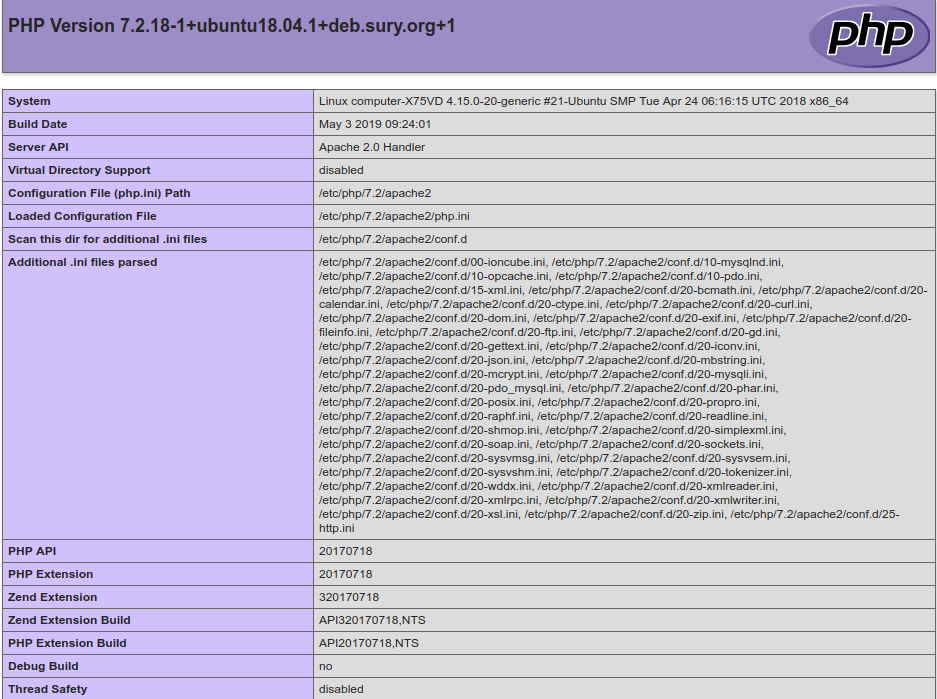
To check if all the modules are correctly installed, create a file called: info.php in the root directory of your webserver. Remember, by default this is located in: /var/www/html. The file should contain the following code:
<?php
phpinfo();
?>
You can now access this file using: http://localhost/info.php. If all went well, the following PHP properties should be visible.
Step 4: Install Composer
Composer is a package manager for PHP that handles dependencies of PHP software and required libraries. This is what we will be using to install Magento 2 and, when necessary, modules that expand upon Magento 2.
Let’s start by installing the dependencies. We are going to install the curl dependency in order to download Composer. php-mbstring provides necessary functions for composer. Git is used to download project dependencies and unzip is there to extract the archived git files.
$ sudo apt install curl php-mbstring git unzip
Now that we have the prerequisites for Composer, we can download and install the Composer installer.
Composer will install itself in the folder we specify so let us change that to the home directory.
$ cd ~
$ curl -sS https://getcomposer.org/installer -o composer-setup.php
Composer wants us to verify the installation to make sure we did not download a shady version. We verify the installation by matching a pre-generated hash with a hash that we will make over the downloaded composer-setup.php. Since the pre-generated hash changes per version, please visit the Composer download page to find the current hash
$ HASH=48e3236262b34d30969dca3c37281b3b4bbe3221bda826ac6a9a62d6444cdb0dcd0615698a5cbe587c3f0fe57a54d8f5
$ php -r "if (hash_file('sha384', 'composer-setup.php') === '$HASH') { echo 'Installer verified'; } else { echo 'Installer corrupt'; unlink('composer-setup.php'); } echo PHP_EOL;"
If you see the message Installer verified you are good to go!
Let us run the installer now and when it is done remove the installer file.
$ php composer-setup.php
$ php -r "unlink('composer-setup.php');"
We are missing a small detail right now and that is that we need to run composer like this
$ php composer.phar
This is not really optimal. We want it to be globally accessible. To do so, execute the following
mv composer.phar /usr/local/bin/composer
Now let us try it again
$ composer
If you got an output showing the following, then you are good to go.
   ______
  / ____/___  ____ ___  ____  ____  ________  _____
 / /   / __ \/ __ `__ \/ __ \/ __ \/ ___/ _ \/ ___/
/ /___/ /_/ / / / / / / /_/ / /_/ (__  )  __/ /
\____/\____/_/ /_/ /_/ .___/\____/____/\___/_/
                    /_/
Installing Magento 2
Note: If you have not read prerequisites yet, please do so.
Let us start by installing the necessary PHP modules required for Magento 2.
$ sudo apt install php-common php-gmp php-bcmath php-intl php-xmlrpc php-xml php-zip
Open a connection to your database
$ sudo mysql -uroot -p
Create a database called magento2 (or any other name you would like your database to have)
mysql> CREATE DATABASE magento2;
Create a database user called mage2user with a password
mysql> CREATE USER 'mage2user'@'localhost' IDENTIFIED BY 'PASSWORD';
mysql> GRANT ALL ON magento2.* TO 'mage2user'@'localhost' IDENTIFIED BY 'SAME_PASSWORD_AS_ABOVE' WITH GRANT OPTION;
Flush the database privileges to save your changes
mysql> FLUSH PRIVILEGES;
mysql> EXIT;
Now we are going to configure our web server
$ sudo nano /etc/apache2/sites-available/magento2store.conf
<VirtualHost *:80>
     ServerAdmin [email protected]
     DocumentRoot /var/www/html/magento2/
     ServerName example.com
     ServerAlias www.example.com

     <Directory "/var/www/html/magento2">
        Options Indexes FollowSymLinks MultiViews
        AllowOverride All
        Order allow,deny
        allow from all
     </Directory>

     ErrorLog ${APACHE_LOG_DIR}/error.log
     CustomLog ${APACHE_LOG_DIR}/access.log combined
</VirtualHost>
Save and exit this file by using CTRL+X Y
$ sudo a2ensite magento2store.conf
$ sudo a2enmod rewrite
$ sudo service apache2 restart
Now we are ready to download and install Magento 2!
To begin, open up the terminal. If your Ubuntu has a GUI then you can either click on the terminal icon ![]() or press the following key combination: Ctrl+Alt+T.
or press the following key combination: Ctrl+Alt+T.
Change your terminal user to the web user
$ sudo su -l www-data -s /bin/bash
Move directories to your webroot
$ cd /var/www/html
Create a new Composer project from the Magento 2 repository
$ composer create-project --repository-url=https://repo.magento.com/ magento/project-community-edition magento2
Now we will use a command to change directory and file permissions to the ones Magento recommends
$ cd magento2
$ find . -type d -exec chmod 700 {} \; && find . -type f -exec chmod 600 {} \;
Lastly, edit and execute the following command
$ php bin/magento setup:install
--base-url="http://yoururl.com/"
--db-host="localhost"
--db-name="magento2"
--db-user="mage2user"
--db-password="PASSWORD_YOU_CREATED_FOR_THE_DATABASE_USER"
--admin-firstname="admin"
--admin-lastname="admin"
--admin-email="[email protected]"
--admin-user="admin"
--admin-password="admin123"
--language="en_US"
--currency="USD"
--timezone="America/Chicago"
--use-rewrites="1"
--backend-frontname="admin"
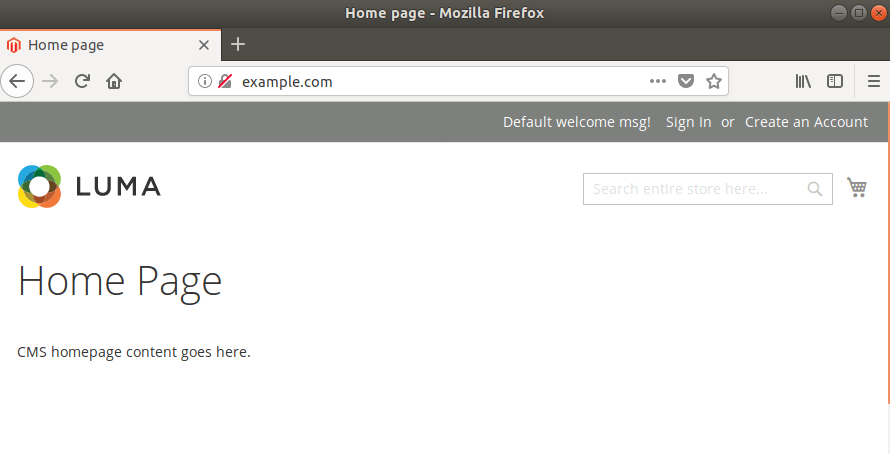
Try visiting the URL you set up in your web server host. In our case it was example.com
If all went well, you should see the following
Installing Magento 2 on Windows
Prerequisites
- XAMPP
- Composer
Installing XAMPP
In order to download Magento 2 on Windows, we will be using a piece of software called XAMPP. XAMPP is an Apache distribution containing MySQL and PHP.
Go to the download page of XAMPP and get the download for 7.2.18 / PHP 7.2.18.
After you have downloaded XAMPP, run the installer and select a location to install it. We picked our root folder, C:\. When the installation is done, you should see something like this
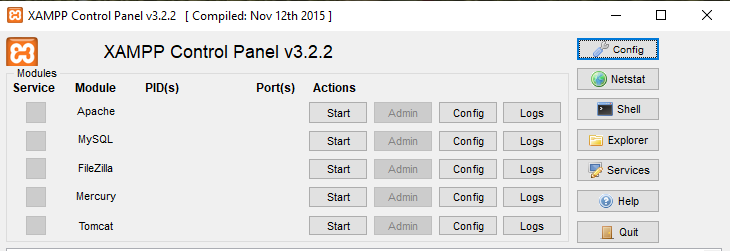
Click on the Config button for Apache and pick PHP (php.ini). Search for the following
;;;;;;;;;;;;;;;;;;;;;;
; Dynamic Extensions ;
;;;;;;;;;;;;;;;;;;;;;;
In this section remove the ; for the following extensions
- extension=bz2
- extension=curl
- extension=fileinfo
- extension=gd2
- extension=gettext
- extension=intl
- extension=mbstring
- extension=exif
- extension=mysqli
- extension=pdo_mysql
- extension=pdo_sqlite
- extension=soap
- extension=xsl
Next, click the Start button for both Apache and MySQL. In your browser navigate to http://localhost and you will be greeted by the XAMPP dashboard page.
Next navigate to http://localhost/phpmyadmin/. This is where we can view, create, update and delete our databases and database tables.
In the left hand menu click on New and create a database called Magento 2.
Installing Composer
Composer is a package manager for PHP that handles dependencies of PHP software and required libraries. This is what we will be using to install Magento 2 and, when necessary, modules that expand upon Magento 2.
To install Composer, go to the Composer download page and download the Composer-Setup.exe and execute it.
Now we are ready to download and install Magento 2!
Open your file explorer, shortcut WINDOWS + E and navigate to your XAMPP folder. Inside you should find a folder called htdocs.
Shift + right click in this folder and open a PowerShell window.
Download Magento with the following command
> composer create-project --repository-url=https://repo.magento.com/ magento/project-community-edition magento2
After the download is done move into the directory
> cd magento2
Now we can add our database to Magento 2 and create an admin account to use
> php bin/magento setup:install
--base-url="http://localhost/YOUR_FOLDER_NAME"
--db-host="localhost"
--db-name="magento2"
--db-user="root"
--db-password=""
--admin-firstname="admin"
--admin-lastname="admin"
--admin-email="[email protected]"
--admin-user="admin"
--admin-password="admin123"
--language="en_US"
--currency="USD"
--timezone="America/Chicago"
--use-rewrites="1"
--backend-frontname="admin"
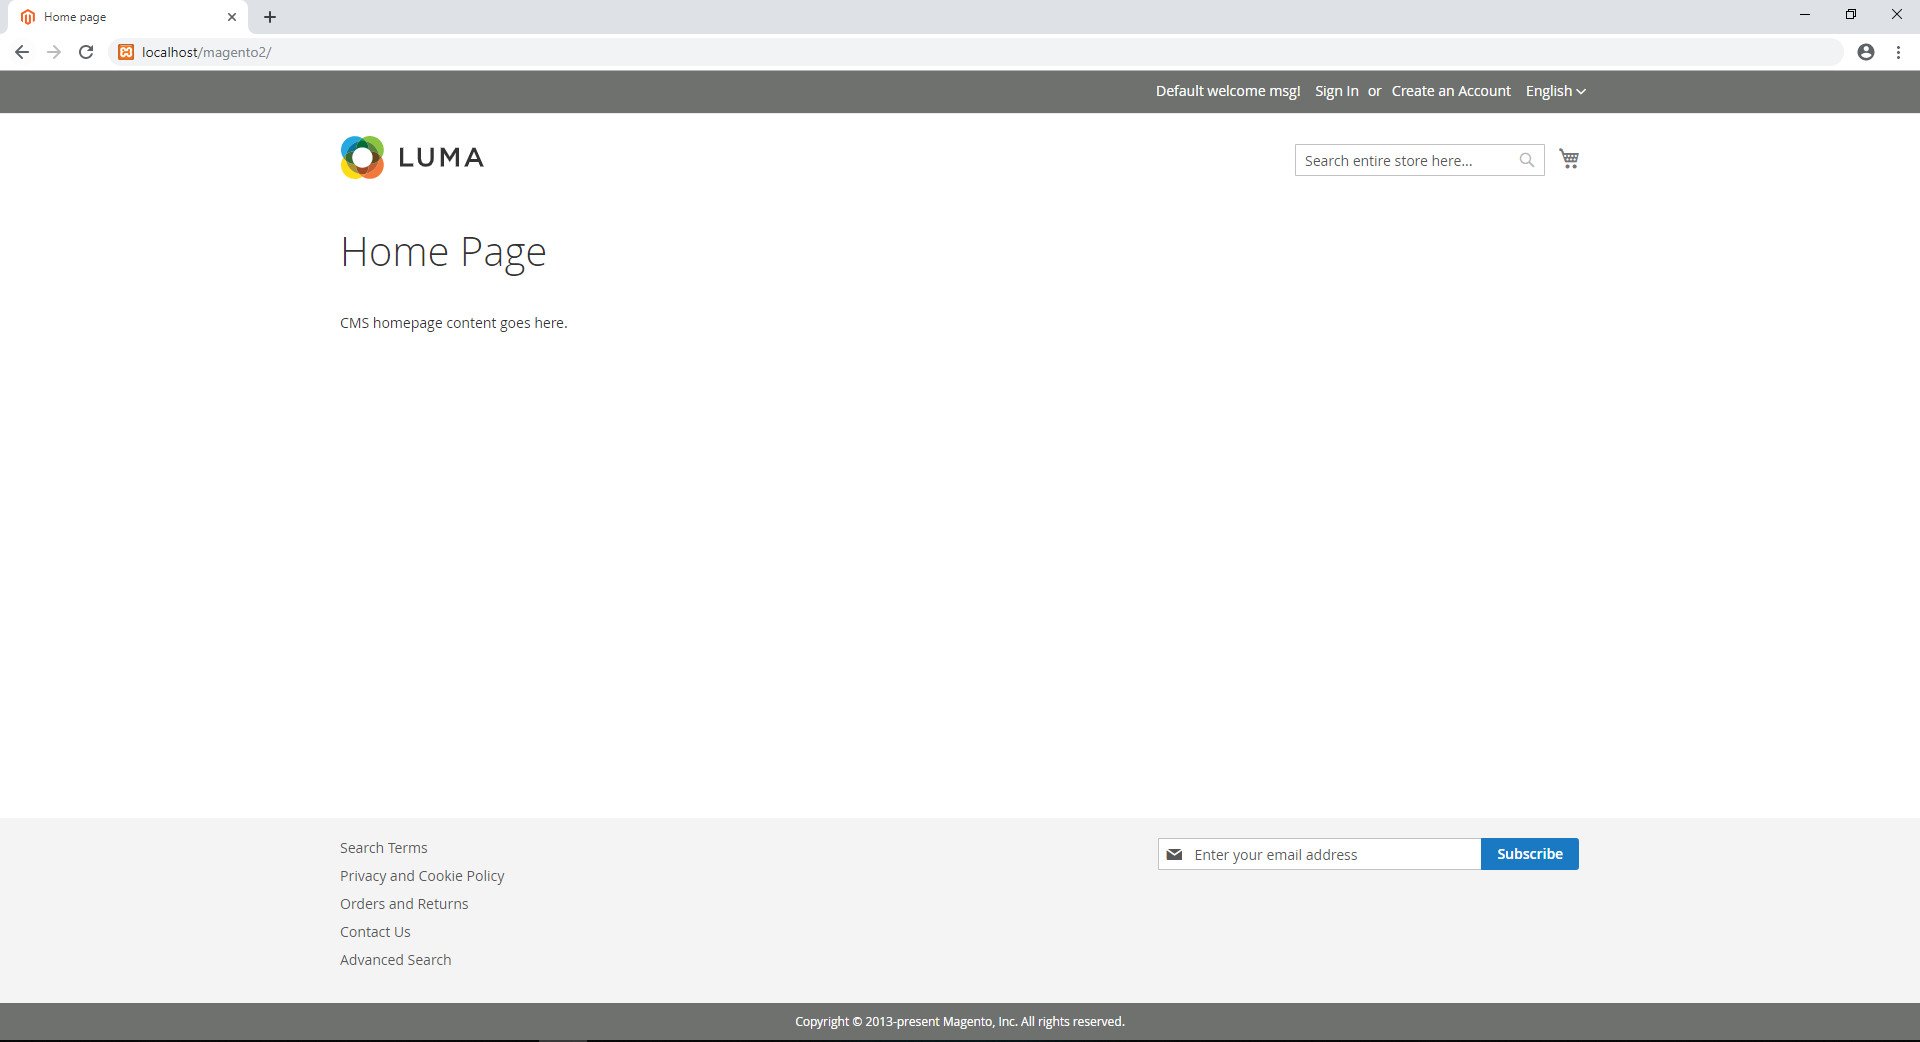
Open up your browser and navigate to your Magento 2 folder, in our case this is http://localhost/magento2.
If all went well you should be greeted by the following


2 Comments